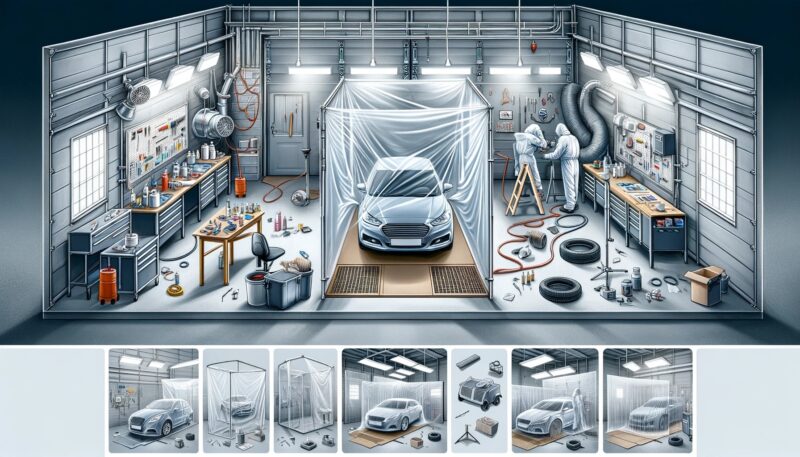
Building a paint booth in your garage is a fantastic way to keep your car painting projects contained and professional, without spending a fortune. This DIY project isn’t just about saving money; it’s about creating a functional space that meets your needs while keeping your garage clean and safe.
Let’s get into the step-by-step process of setting up your garage paint booth.
Step 1: Measure Your Space
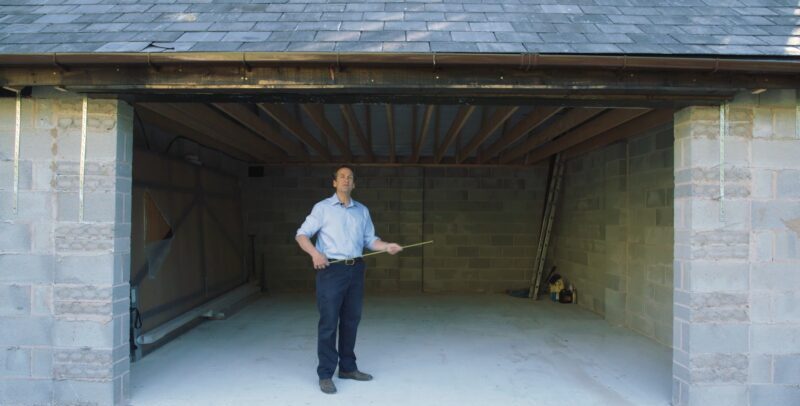
Before you start buying materials or cutting PVC pipes, take a moment to measure your garage space. You need to know exactly how much room you have to work with.
This will determine the size of your paint booth and ensure that everything fits perfectly.
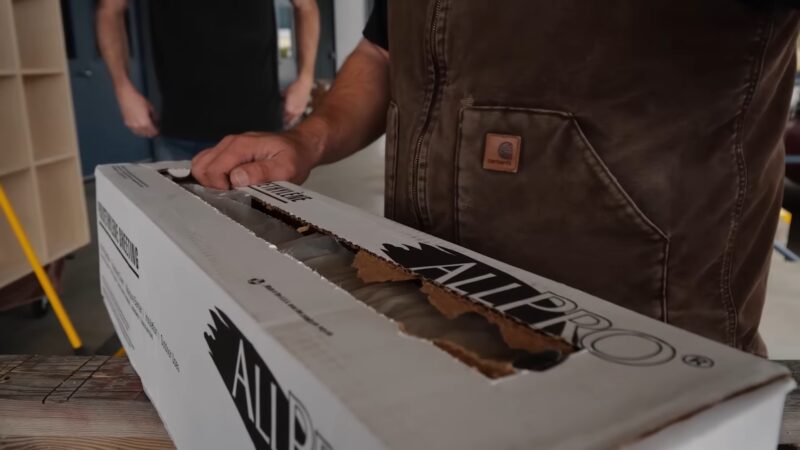
Step 2: Get the Materials
Here’s what you’ll need:
- PVC pipes and couplings
- Electrical wire
- Clothespins
- A 10′ x 25′ tarp
- Plastic drop cloths (1 mil and 6 mil)
- Box fans and filters
- SAS Pure Air 2000 filter and paint hood
- Cardboard and duct tape
- Isopropyl alcohol and water for anti-static mix
- Paint filters, mixing cups, and other tools
- Devilbiss Finishline II HVLP gun
Make sure you have all these items before you start. It’s frustrating to stop mid-project because you’re missing something crucial.
Step 3: Build the Frame
The frame is the skeleton of your paint booth. Using PVC pipes and couplings, create a sturdy frame that can support the tarp and other materials.
Ensure it’s strong enough to withstand the weight and the slight movements it might endure during painting.
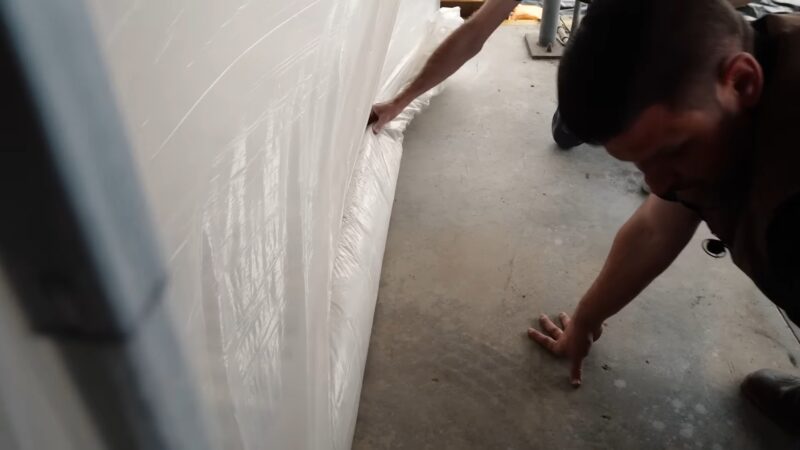
Step 4: Set up the Tarp
Carefully drape the 10′ x 25′ tarp over your frame. Use clothespins to secure it in place. This step requires a bit of finesse; you want the tarp to be tight enough to not flap around but not so tight that it puts undue stress on the frame.
Step 5: Air Circulation and Dust Control
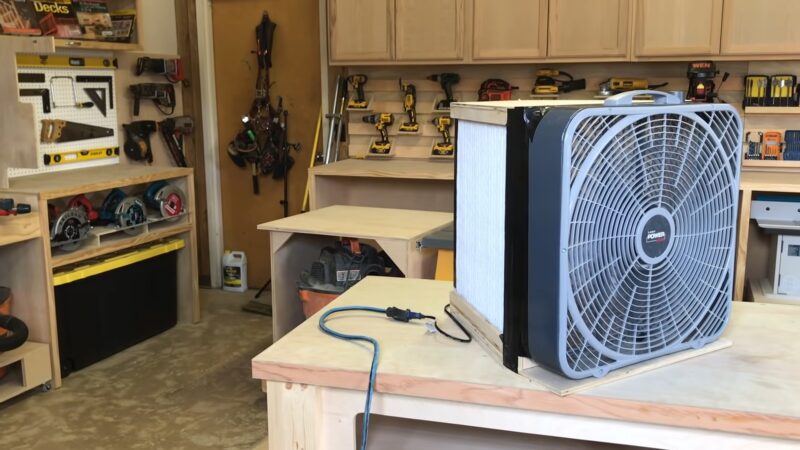
Set up box fans for air circulation. Place filters over these fans to control dust.
This step is crucial for maintaining a clean environment inside your booth and preventing dust particles from ruining your paint job.
Step 6: Maintain Positive Pressure
Maintaining positive pressure inside the booth is key to keeping dust out. You can achieve this by adjusting the fans and making sure that air is flowing into the booth more than it’s flowing out.
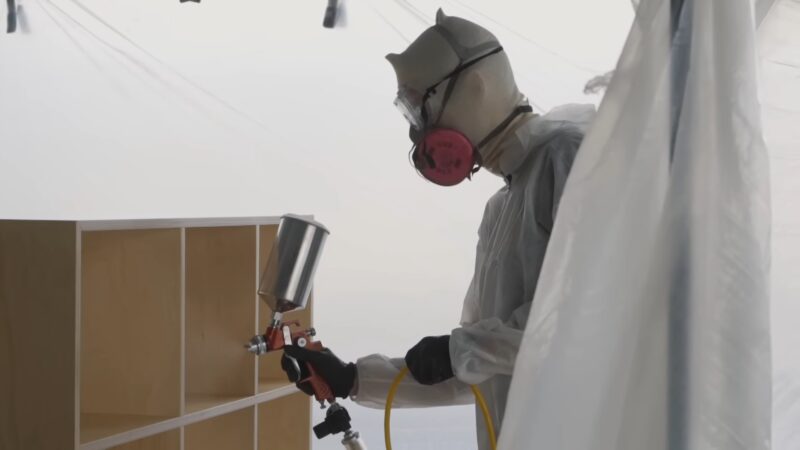
Step 7: Set up the Safety Gear

Don’t skimp on safety. Use a full respirator and protective clothing. Set up your SAS Pure Air 2000 filter and paint hood.
Remember, the fumes from paint can be harmful, so it’s better to be safe than sorry.
Step 8: The Booth Door
Create a door using cardboard and duct tape. It doesn’t have to be fancy, just functional.
Make sure you can get in and out easily, and seal any large gaps that might let in dust.
Step 9: Accessibility for Controls
If you need to access controls for your compressor or filters, create a small trap door. This will allow you to make adjustments without having to dismantle your setup.
Step 10: Exhaust Fans
Set up exhaust fans to remove fumes efficiently. This will keep the air in your garage cleaner and safer.
Step 11: Prepare for Painting
Before you start painting, spray an anti-static mixture of isopropyl alcohol and water around the booth, floor, and on your suit. This will help reduce static that can attract dust. Ensuring your workspace is not only clean but also secure is crucial, which includes having a well-maintained garage door. If you’ve encountered issues with your garage door’s chain slipping off, addressing this can prevent unexpected disruptions.
Step 12: You Are Ready to Paint
Now, you’re ready to paint. Use your Devilbiss Finishline II HVLP gun and other tools to get a professional finish.
Additional Painting Tips
Painting a car is an art form that requires patience, precision, and a bit of know-how. Once you’ve set up your DIY paint booth in the garage, it’s time to focus on the actual painting process.
This comprehensive guide will walk you through the key steps and techniques to achieve a flawless finish on your vehicle.
Learn More About Paint Types and Selection
The first step in any car painting project is selecting the right type of paint. There are primarily three types of automotive paint: urethane, acrylic, and lacquer.
Urethane paints are popular due to their durability and resistance to chipping. Acrylic paints, available in enamel and lacquer forms, are easy to apply but not as durable as urethane.
Lacquer paints, once popular, have fallen out of favor due to environmental concerns.
Tip: Choose urethane paints for their longevity, especially if the car will be exposed to the elements frequently.
Prepare the Surface
Surface preparation is crucial. Start by thoroughly washing the car to remove dirt, grease, and wax. Next, repair any surface imperfections like dents or rust. Use a body filler for dents and a rust inhibitor for rusted areas.
- Sanding: Sand the entire vehicle with a dual-action sander. Start with a coarse grit sandpaper and gradually move to finer grits. This process ensures a smooth surface for the paint to adhere to.
- Cleaning: After sanding, clean the surface with a tack cloth and a pre-paint cleaner to remove any residual dust and oils.
Priming
Priming is essential for ensuring paint adhesion and rust prevention. Apply a coat of high-quality automotive primer over the entire car. For the best results, use a spray gun rather than aerosol cans.
Allow the primer to cure as per the manufacturer’s instructions.
Tip: Apply multiple thin coats of primer rather than one thick coat to avoid runs and sags.
Masking
Mask off areas that you don’t want to paint, like windows, mirrors, and trim. Use automotive masking tape and masking paper or plastic sheeting.
Ensure the tape is firmly pressed down to prevent paint bleed.
Mixing and Thinning Paint
Mix your paint according to the manufacturer’s specifications. If using a spray gun, you may need to thin the paint to achieve the correct viscosity.
Use the recommended thinner and mix thoroughly. Test the paint on a spare piece of metal to ensure it’s the right consistency.
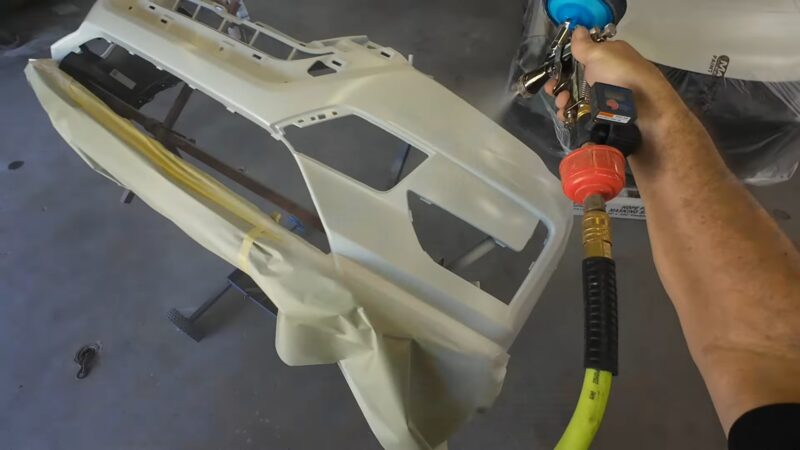
Spraying
Now, the actual painting begins. Here are some tips for a smooth application:
- Use a spray gun for a uniform and professional finish.
- Hold the gun about 6-8 inches from the surface.
- Apply paint in thin, even coats. It’s better to apply multiple light coats than one heavy coat.
- Overlap each stroke by about 50% to ensure even coverage.
- Move the spray gun in a steady, back-and-forth motion.
- Allow each coat to dry to a tack before applying the next one.
Temperature and Humidity: Paint in a controlled environment. Ideal conditions are 70°F with 50% humidity.
Wet Sanding and Polishing
After the final coat of paint has cured, wet sand any imperfections with fine-grit sandpaper. This step is crucial for achieving a glass-like finish.
Follow up with a polishing compound to bring out a high gloss.
Tip: Use a dual-action polisher for an even and professional shine.
Clear Coat Application
The clear coat protects the paint and provides a glossy finish. Apply the clear coat in the same manner as the base paint.
Several layers may be necessary for optimum protection and shine.
Regular Maintenance
Maintain your paint job by washing the car regularly and applying wax every few months. This will protect the paint from the elements and keep it looking new.
What Are Some Common Problems?
- Runs and Sags: These are caused by applying too much paint. Sand the area and repaint.
- Orange Peel: This texture occurs when the paint doesn’t level out. Sand the area and apply a lighter coat.
- Dust and Debris: Keep your booth clean and always use a tack cloth before painting.
FAQs
How long does a paint booth last?
The lifespan of a paint booth depends on several factors, such as the quality of the materials, the frequency of use, the maintenance schedule, and the environmental conditions. However, a well-built and well-maintained paint booth can last for 10 to 20 years or more.
What is the best size for a paint booth?
The best size for a paint booth depends on the type and size of the objects you want to paint, as well as the space and budget you have available. Generally, you want to have enough room for the object, the painter, and the spray equipment, as well as some clearance around the object for proper airflow and ventilation. A typical paint booth for cars is about 14 feet wide, 9 feet high, and 26 feet long, while a paint booth for trucks can be up to 20 feet wide, 16 feet high, and 60 feet long. You can also find paint booths in different shapes and configurations, such as open-front, enclosed, or cross-flow.
Can you sand in a paint booth?
Yes, you can sand in a paint booth, as long as you follow some safety precautions and best practices. Sanding in a paint booth can help you avoid dust contamination and improve the quality of your finish. However, you should also make sure that you have adequate ventilation, dust collection, and personal protective equipment, as sanding can generate hazardous dust and fumes. You should also clean the paint booth regularly and change the filters often to prevent dust buildup and fire hazards.
How many amps does a paint booth use?
The amount of amps that a paint booth uses depends on the size and type of the paint booth, as well as the electrical components and accessories that are installed. For example, a paint booth may have lights, fans, heaters, air compressors, and control panels that require electricity. A typical paint booth for cars may use about 100 to 200 amps, while a paint booth for trucks may use up to 400 amps. You should always consult the manufacturer’s specifications and a licensed electrician before installing or operating a paint booth.
The Bottom Line
Once you’re done painting, the booth can be disassembled in about 20 minutes. Store the tarp and other components properly so they’re ready for your next project.
Building a paint booth in your garage is a practical and rewarding project. It allows you to paint in a controlled environment, leading to better results.
Plus, it’s a great way to keep your garage clean and free from overspray.
Do you want to check out more tips about maintenance and other garage tips, like Does sunlight mess with garage door sensors?